Installation
Installation made simple
A clamp-on exhaust elbow is one of the easiest upgrades on a truck. No welding, no cutting.
- 01
Step 1 — Measure
With the exhaust completely cool, measure straight across the outside of your tailpipe. That measurement is your inlet size.
- 02
Step 2 — Select the correct size
Choose the elbow whose inlet matches your pipe. The outlet size is purely about the look you want.
- 03
Step 3 — Install the elbow
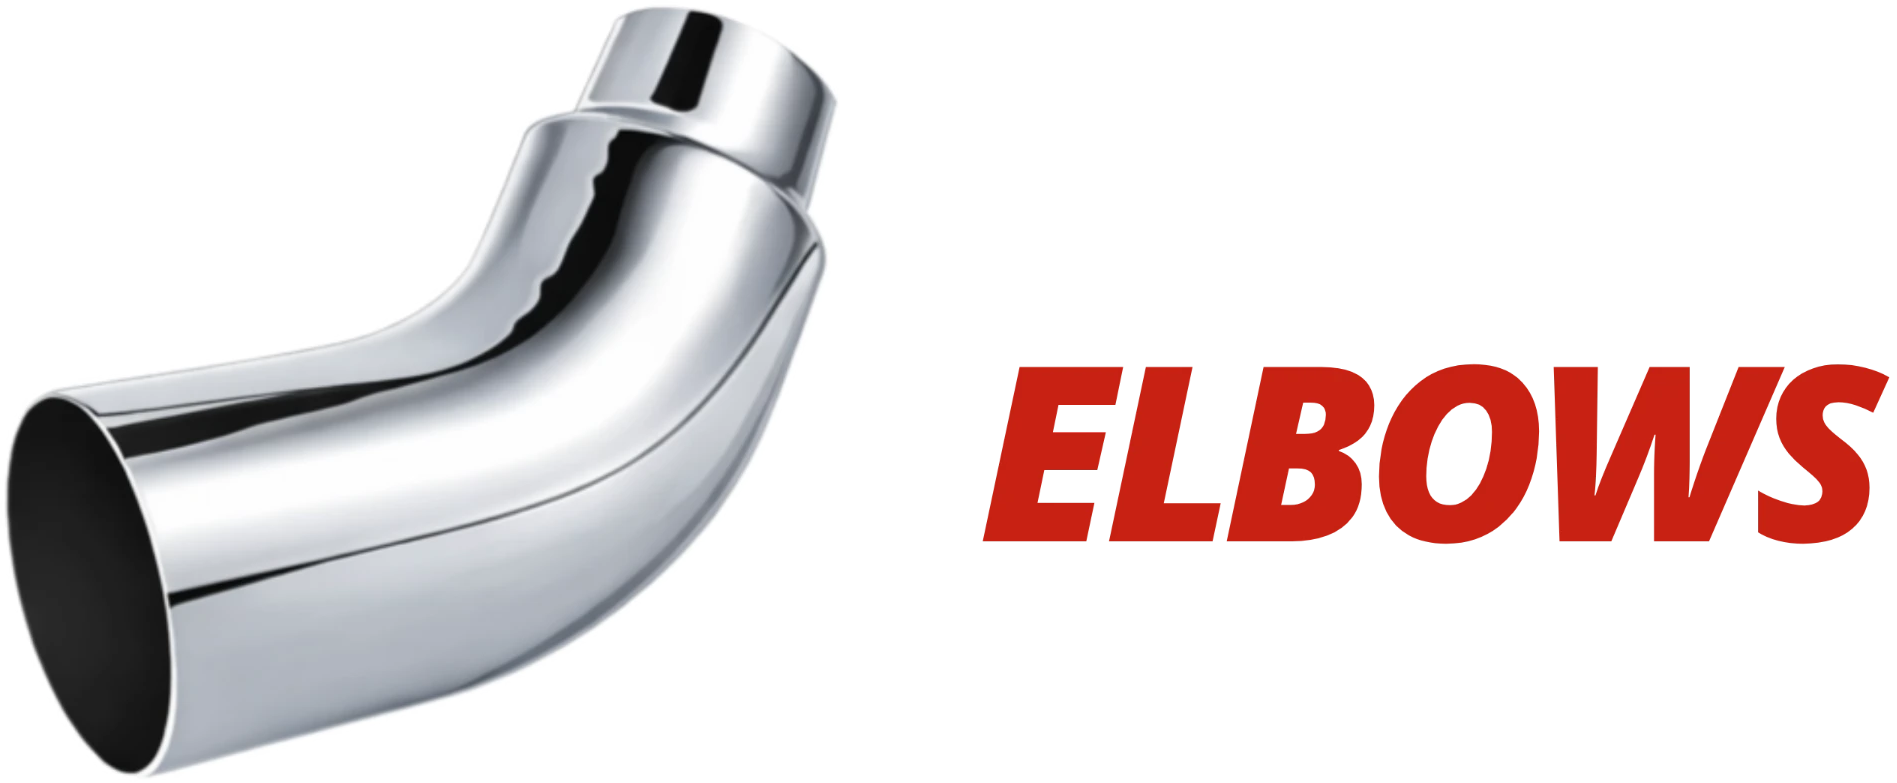
Slide the inlet end of the elbow over the end of the exhaust pipe. Rotate it until the outlet points where you want it — usually away from the bumper, tyre and bodywork.
- 04
Step 4 — Secure the clamp
Slide the clamp over the overlap and tighten it evenly until the tip does not twist or pull off by hand. Do not overtighten and crush the pipe.
- 05
Step 5 — Check fitment
Start the truck and check for rattles or exhaust leaking at the joint. Re-check the clamp after your first drive and again after a few hundred miles.
Safety first
- Exhaust components get extremely hot. Let the system cool fully before you touch it.
- Wear gloves and eye protection. Cut edges and road grit are sharp.
- If you lift the truck, use jack stands on level ground — never work under a jack alone.
- Keep the tip clear of tyres, fuel lines, wiring and bodywork.
- If anything doesn't seat cleanly, stop and have an exhaust shop finish the job.